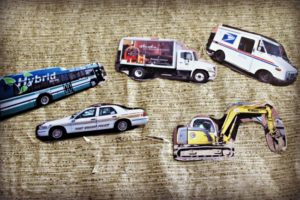
 When Henry was very small I sometimes watched other children and I was always looking for ways to keep the kids busy. One idea that I found on Pinterest was DIY Car Magnets that can be made at home. These DIY car magnets were not just easy to make, but they were fun to create as well.
The kids and I made an adventure out of finding vehicles to photograph for this project and then the magnets provided lots of entertainment in the kitchen while mama was cooking meals each day. In hindsight I wish I had added on to the project by making roads on the fridge or photographing buildings in our community to add to the mix. I guess I will just have to start working on this project again to use in my classroom!
DIY Car Magnets for Kids:
Step One: Take Pictures of Vehicles
We took pictures of vehicles all over our neighborhood. We took pictures of trucks, buses, construction vehicles, and our own cars at home as well. Then I printed out pictures of all the vehicles.
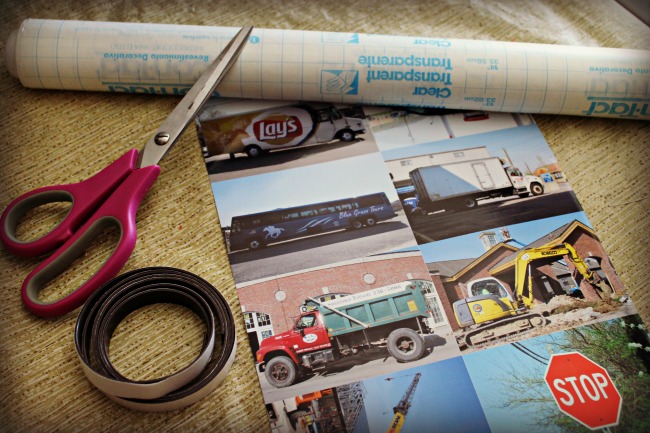
Step Two: Laminate Vehicle Pictures
Trim the pictures around the vehicle and then laminate each vehicle. You do not need to own a laminator to create DIY Car Magnets, back in the day when I made these magnets I used clear contact paper to laminate the magnets. This step makes the vehicle magnets a little more durable when being played with by small children. Once each magnet is laminated just cut them out and put an adhesive magnet on the back.
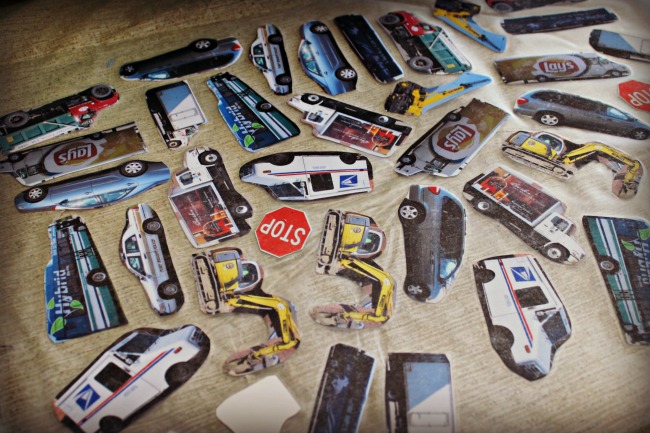
Step Three: Drive Drive Drive!
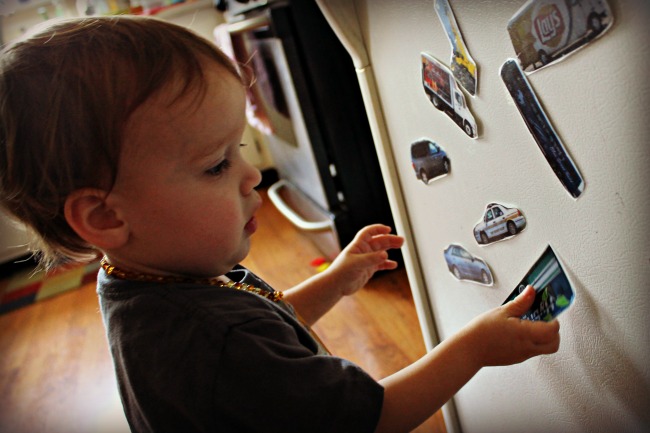
That’s it, your DIY Car Magnets are complete…now the fun begins. When Henry was little he loved driving these cars all over our fridge.
I found the idea for DIY Car Magnets on the Tigerlily Tinkering Blog. The author of this blog has since started up a new blog called A Happy Stitch that is full of great creative ideas!
